How To Install the Imagify WordPress Plugin
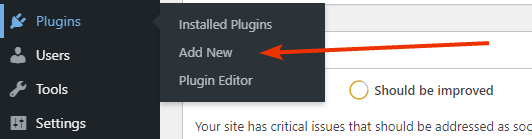
The Imagify WordPress plugin can be installed like most other free plugins using the Plugins > Add New page within your WordPress Admin section.
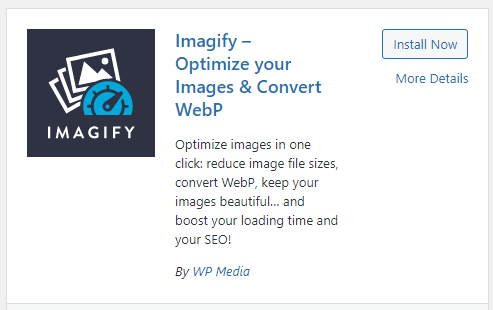
Once there, you can search for the Imagify plugin.

You should most likely see the Imagify plugin as the first result and you can click the Install Now button to install Imagify to your WordPress site.
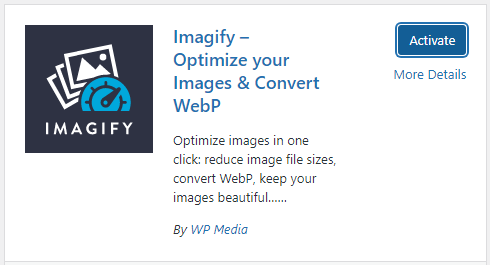
You will also then be prompted to Activate Imagify, which you can do as well.
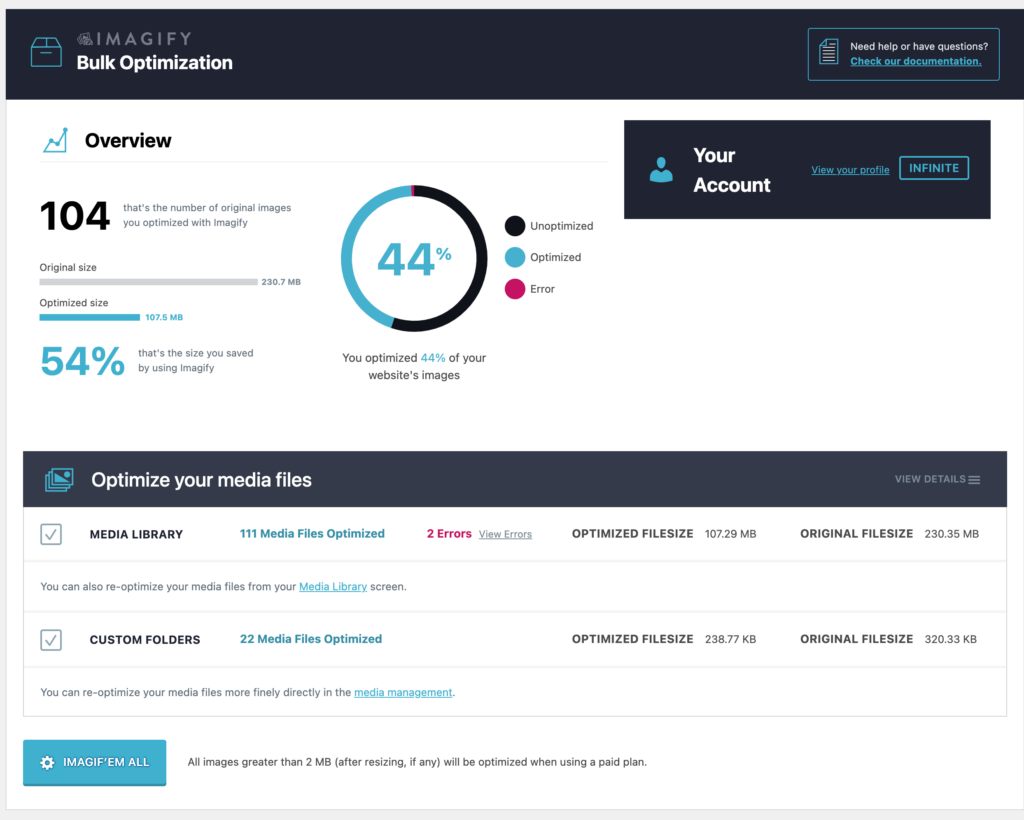
Once Imagify is activated and installed, you’ll notice that your site now has added image optimization functionality and pages associated with Imagify.
You’ll notice that you now have a new menu item under Media > Bulk Optimization, which is a page you can use to optimize all the images on your site.
You’ll also see a menu item under Media > Other Media and this is where you will see optimized images that are located outside of your standard WordPress Media Library location. These are images located in Custom Folders, which you can specify in the Imagify plugin settings page.
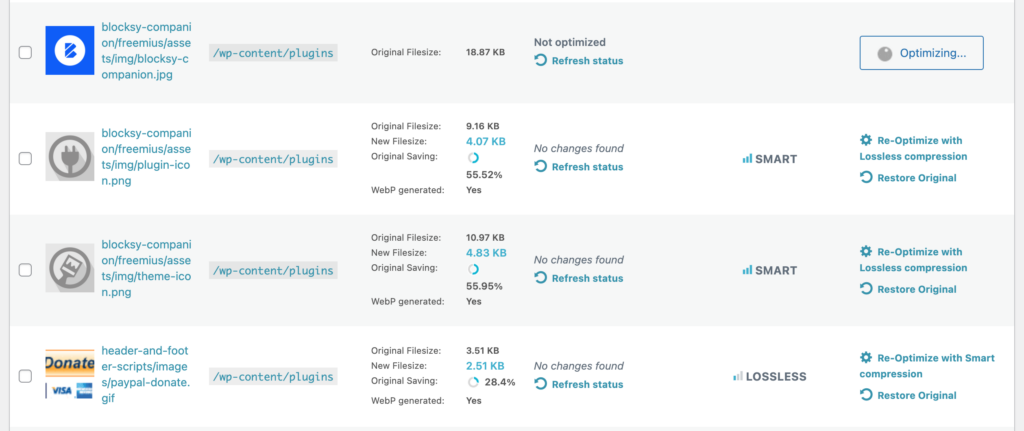
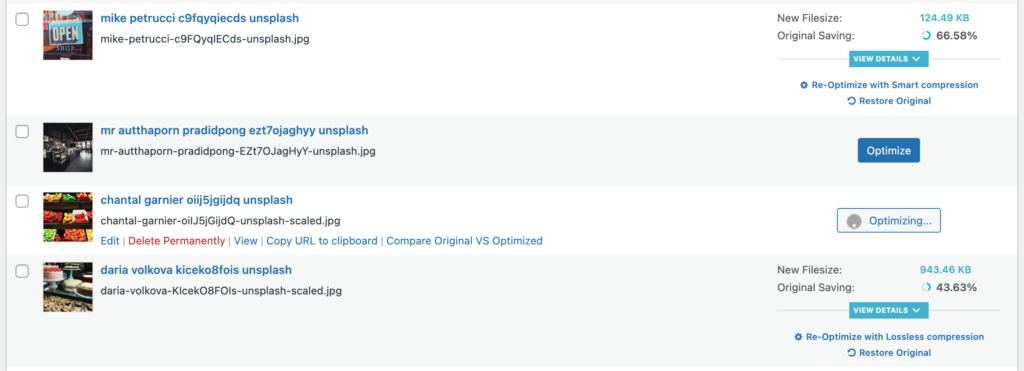
You’ll also notice some differences in your Media Library page, particularly when you change to the list view. For each of your images, you’ll now have new options available, including a button to optimize images individually, a new Imagify column with optimization stats for each image, and options to re-optimize to different compression level.
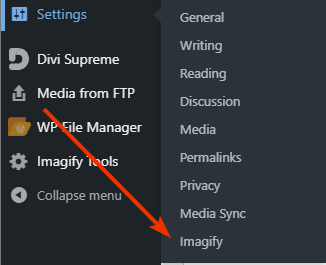
You should also see a new page at Settings > Imagify where you can customize your Imagify image optimization settings.
Your feedback has been sent to our team We value every bit of feedback we receive as it helps us to improve our products and services. Thank you for your time.