Our Recommended Imagify Settings
Optimization Level
Imagify offers two main optimization levels to choose from:
Smart Compression (Default):
This mode compresses your images at their best without impacting quality. Imagify will automatically find the best balance between quality and performance, so there’s no need to adjust anything. This level is perfect for ensuring your images are optimized for both quality and loading speed.
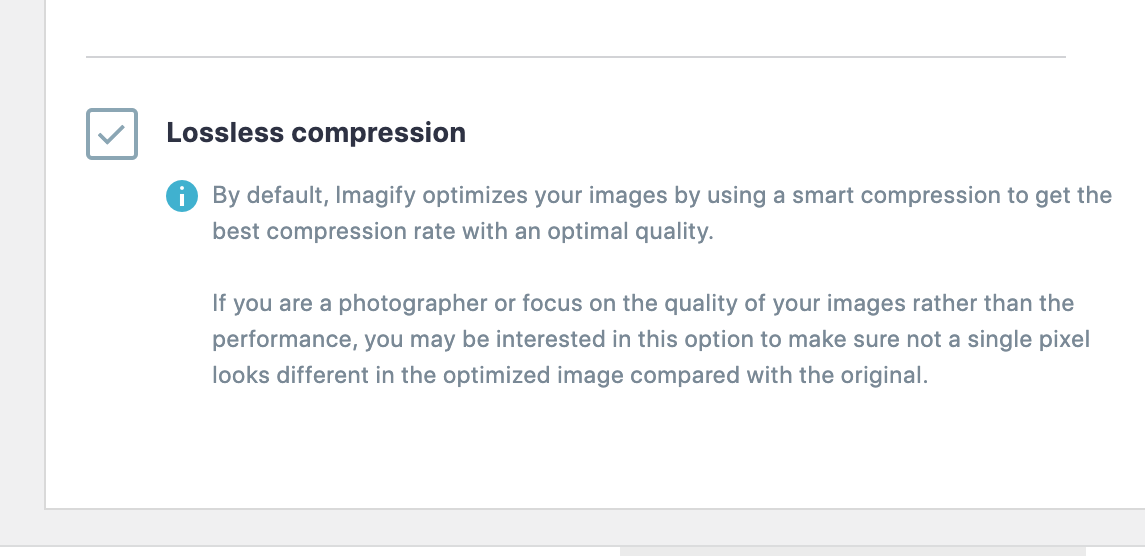
Lossless Compression:
This mode compresses images without any visible change. However, the file size reduction will be less than what you get with Smart Compression. While this is ideal if you want to maintain pixel-perfect quality, it won’t provide the maximum performance benefits.
If you need to switch a few images to Lossless, you can do so from the Media Library (List View). To apply Lossless to all images, go to Imagify Settings, select Lossless Compression, and click Save. Then head to Media > Bulk Optimization and re-optimize all your images to Lossless.
Auto-Optimize Images on Upload

In most cases, we would recommend enabling this option as a convenience so whenever you upload new images to your Media Library, they automatically get optimized. With that said, if there are only certain images that you want optimized and you’d prefer to manually choose which images to optimize, then you could disable this option.
Backup Original Images

We strongly recommend enabling the option to back up your original images. This is important because the original images are needed to:
- Generate new thumbnail sizes (for instance, if you change your theme or install a plugin).
- Re-optimize images to another compression level.
- Restore images to their original version if needed.
- Generate Next-Gen formats like WebP or AVIF.
Next-Gen Image Creation & Display
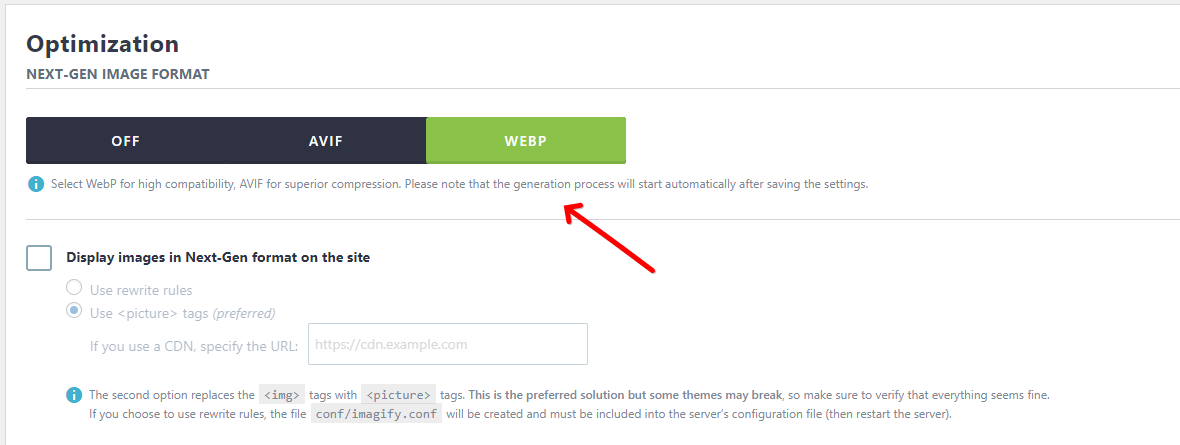
Imagify allows you to choose whether to create WebP or AVIF versions of your images, or you can disable Next-Gen formats entirely. Both formats help reduce image size while maintaining quality.
- WebP has wider browser compatibility, making it a solid choice for most websites.
- AVIF can offer slightly better compression (smaller file sizes) but is supported by fewer browsers.
When serving Next-Gen images, Imagify ensures a fallback mechanism, meaning that if a browser doesn’t support WebP or AVIF, the optimized image format (JPG/PNG) will be served automatically.
There are two methods for displaying Next-Gen formats:
- Use Rewrite Rules (recommended): This method doesn’t alter your site’s HTML and works seamlessly for most setups, except when using Cloudflare or a CDN.
- Use
<picture>Tags: This method replaces the<img>tags with<picture>tags for better compatibility with Next-Gen formats. However, if you experience layout issues, please refer to this documentation.
Resize Larger Images
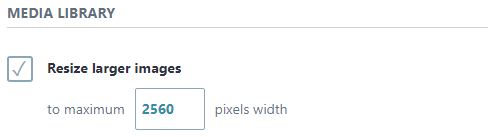
Reducing the display size of your images can provide a large reduction in their file size, so we recommend having this option enabled in most cases. You can set the maximum width value to what is appropriate for your site based on the maximum size at which your images might need to be displayed. This value can only be set a low as your largest registered thumbnail size.
Files Optimization
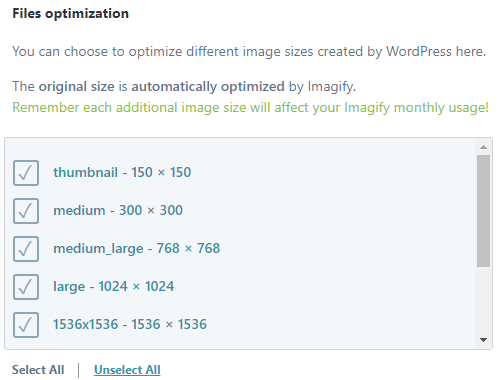
This section lists all the thumbnail image sizes registered with your site to be created by WordPress when you upload an image to your Media Library. Imagify will optimize and create Next-Gen versions for each thumbnail size that is checked. We recommend that you keep each of these sizes that are used on your site enabled, but you can disable any of the sizes that are not used.
Custom Folders
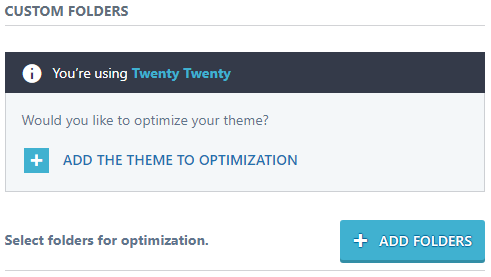
Imagify optimizes images in your Media Library by default, but if you have images stored in other folder locations on your server, you may wish to add those here. There’s an option to add your theme’s images to optimization as well.
We recommend adding any folders containing images that are displayed on your site so they’re all optimized. Once the folders are added and you run the Bulk Optimizer, you’ll be able to find these custom folder images in Media > Other Media.
Your feedback has been sent to our team We value every bit of feedback we receive as it helps us to improve our products and services. Thank you for your time.