Looking for an efficient way to convert your images to WebP and…
If you have a lot of images, and they’re all worthy of a space on your website, this could pose a problem. Though, with WordPress, it’s only a minor inconvenience. This is because there are lots of ways to create a photo gallery in WordPress, often using a plugin.
There are a few solutions on the market to choose from, such as NextGEN Gallery. WordPress even has its own way to create photo galleries in a pinch. Regardless of your chosen solution, there’s room for all of your images on your website.
In this post, we’re going to discuss how to make a photo gallery within WordPress. From there, we’ll look at a few customizations you can make to take your photo gallery from another contender to the heavyweight champion!
Why You’d Want to Show a Photo Gallery On Your WordPress Website
WordPress is tailor-made for the modern web, and this is because it’s top-notch for displaying your media (such as video, GIFs, and images). We’ll talk more about WordPress itself in a moment, but for now, consider the following benefits of using a photo gallery:
- You can showcase collections of images, and give them context and meaning.
- You’re able to dedicate specific space to batches of images, and display them in the right way.
- You don’t have to work with ‘inline’ images. In other words, the images can be an element in their own right, rather than part of your text content.
A photo gallery can have a lot of uses, across lots of different niches. For example, an e-commerce business could use a gallery to show different angles of a product, or various color schemes and designs of a single item.
In addition, a typical blogging site could give some further context to the writing, and group images together. A photography site will obviously benefit from a photo gallery more than any other, as you could create albums based on different subject matter or projects.
In fact, with the right solutions in place, the sky’s the limit when it comes to what you can achieve with your own photo galleries.
Why WordPress Is an Ideal Platform for Your Website
Before we move on, it’s worth noting what makes WordPress so perfect for any type of website.
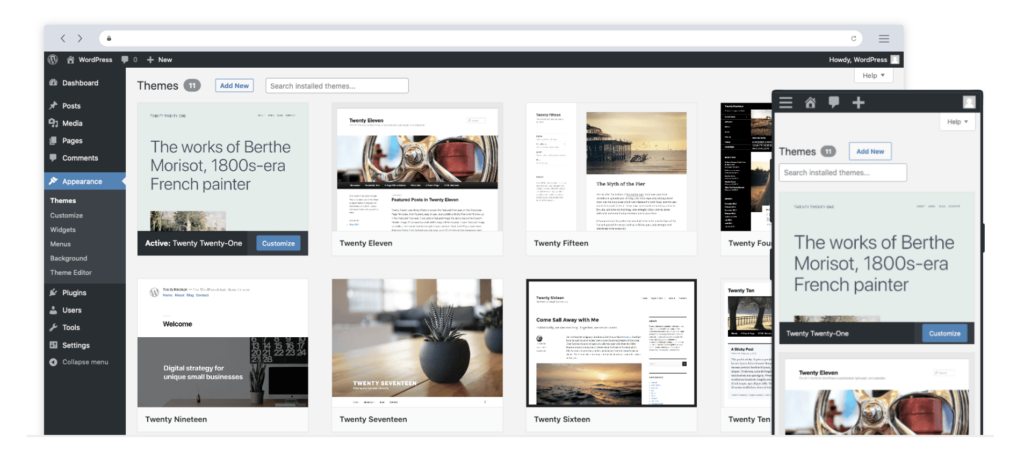
It’s a free, open-source Content Management System (CMS) that comes ready to rock and roll out of the box. What’s more, it’s a popular solution: It’s used on over 42 percent of all websites, and you can find it powering sites such as Rolling Stone, Walt Disney, Bloomberg, and many more.
On the whole, WordPress is a secure, stable, scalable, and flexible CMS. The price is also right. What’s more, there is a vast community of teachers, experts, and developers willing to lend a hand. The ecosystem is also packed to the gills with themes and plugins to help you build and publish your site.
How to Create an Image Gallery Using WordPress’ Default Options
WordPress comes with lots of functional ways to add content to your site. For example, the Block Editor offers a dedicated Gallery Block that could suit your needs in a pinch.
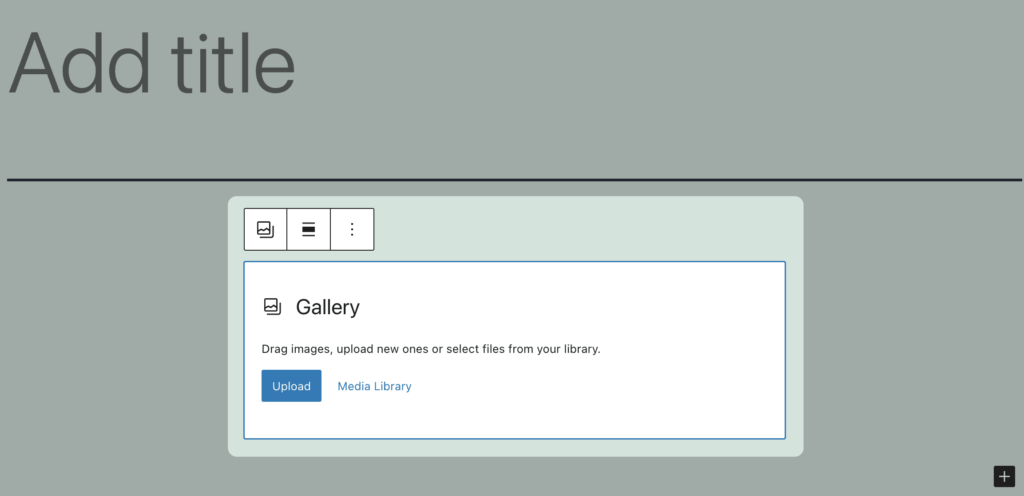
To find this, navigate to a post or page within WordPress, and take a look at the Block Editor. You’ll want to click the Plus icon next to an empty space, and find the Gallery Block:
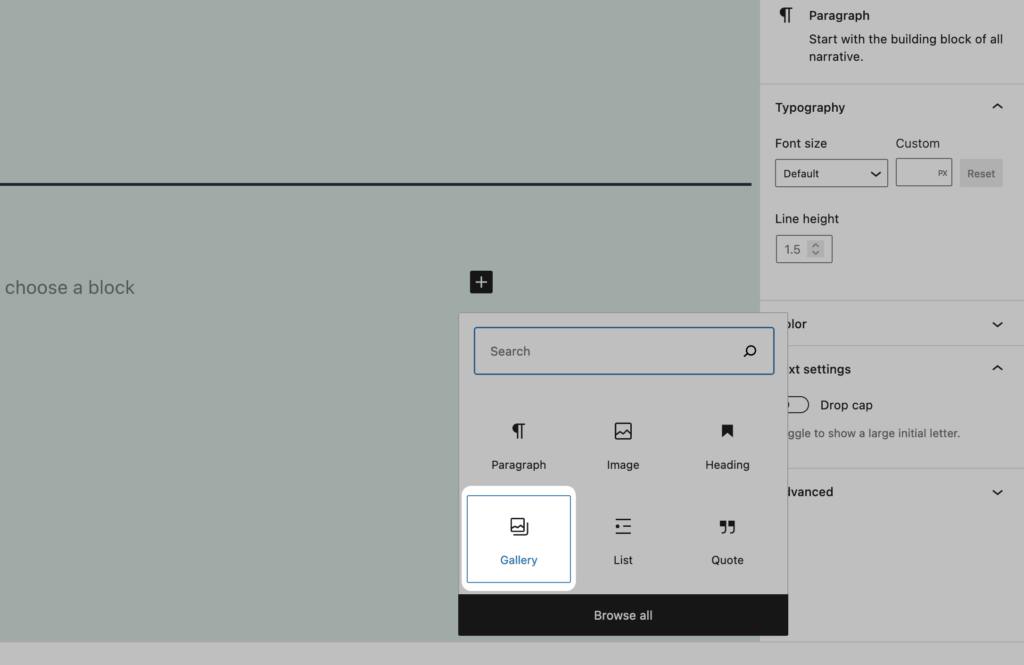
It might be that you have to search for it, but when you find it, click to add it to your content:
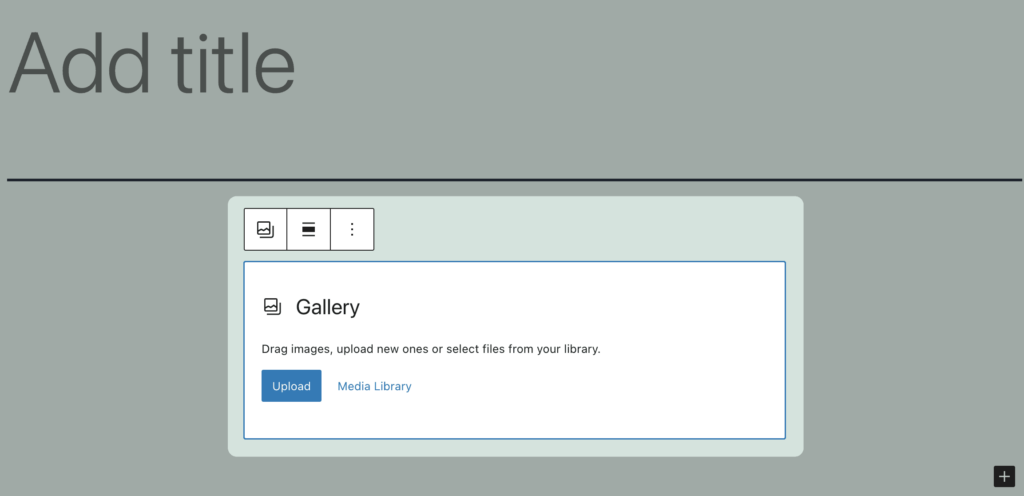
Here, choose either to upload new images or choose from your WordPress Media Library. When the upload dialog opens, you can drag your images onto the screen and the process will begin.
As an alternative, you can use existing images from within the Media Library:
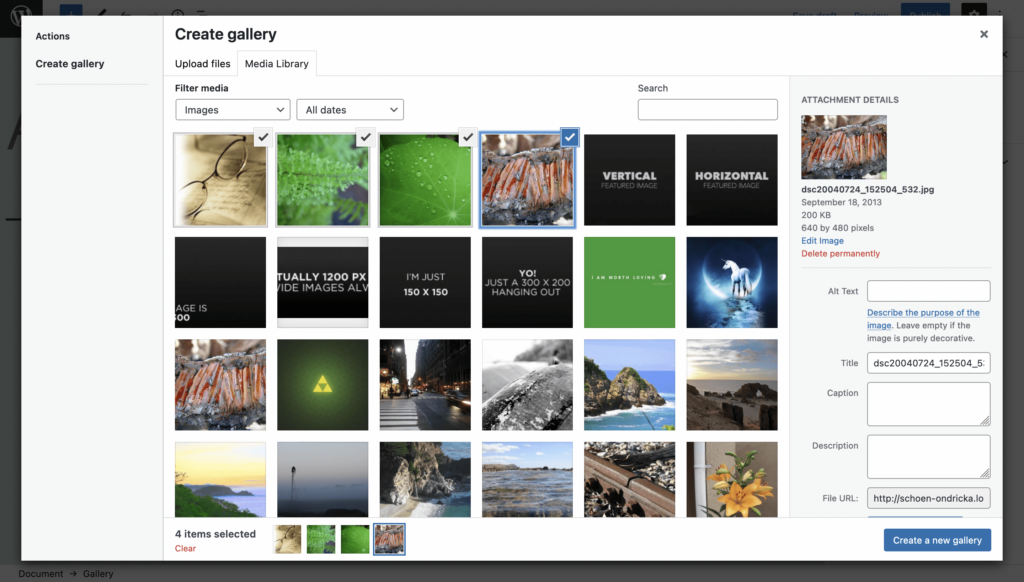
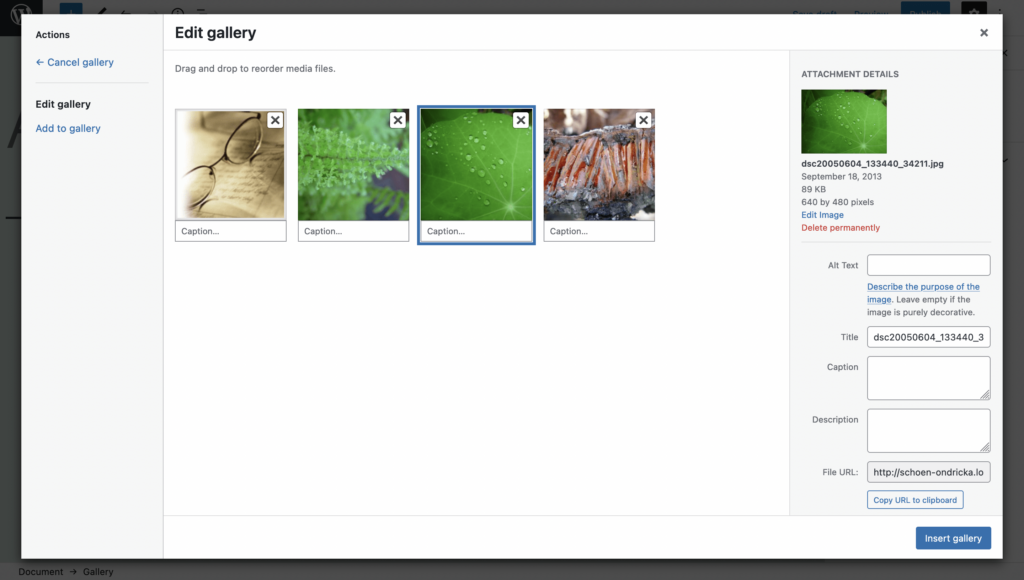
When you’re ready, click Create a new gallery. At this point, you can add captions to each image and drag them into the right order. Note that you can also set your image metadata here – necessary for good Search Engine Optimization (SEO):
Once you save your changes, you’ll see the gallery within your post or page’s content:
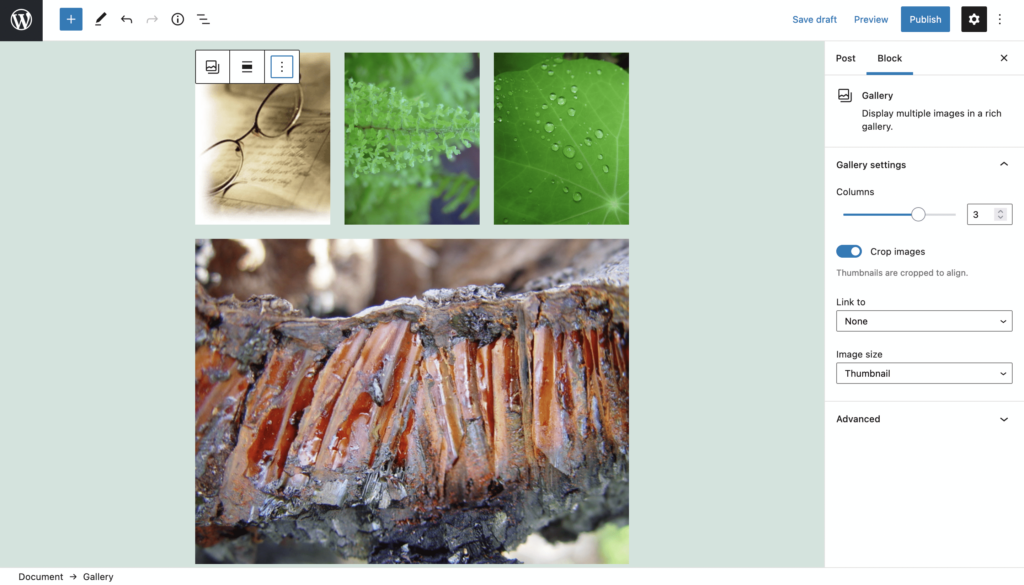
You can carry out some simple customizations from the right-hand sidebar, such as the number of columns, whether images have cropping applied, and more.
Introducing the NextGEN Gallery Plugin
Of course, the default WordPress options to create a photo gallery have lots of applications, but you may need more. This is especially true if you work in a field such as e-commerce or photography that needs high-quality images and the means to display them.
NextGEN Gallery is the typical standard for adding a photo gallery within WordPress. It has millions of downloads, and just as many satisfied users:

It’s a full gallery management system with the following essential features:
- A number of gallery and album styles for you to choose from.
- Plenty of options to help you customize your gallery to your own requirements.
- Integration with the Block Editor, so you can add your NextGEN galleries rather than use WordPress’ own solution.
There’s lots more in the free version we haven’t covered here, but there’s even more in the premium solution too. The price begins from around $25 per year for a single site, and you’ll get even more for your money at higher tiers.
How to Create a Photo Gallery In WordPress Using NextGEN Gallery (in 3 Steps)
Over the next few steps, we’re going to show you how to create a photo gallery with WordPress using NextGEN Gallery. In fact, this tutorial is a great way to see the power of the free version of the plugin.
1. Install and Activate the NextGEN Gallery Plugin
Your first step should be to install and activate the NextGEN Gallery plugin. We’re using the free version here, so you can do this through the Plugins > Add New screen within WordPress:

Once you click Install Now, then Activate, WordPress will do its thing and bring you to the NextGEN Gallery Overview screen:
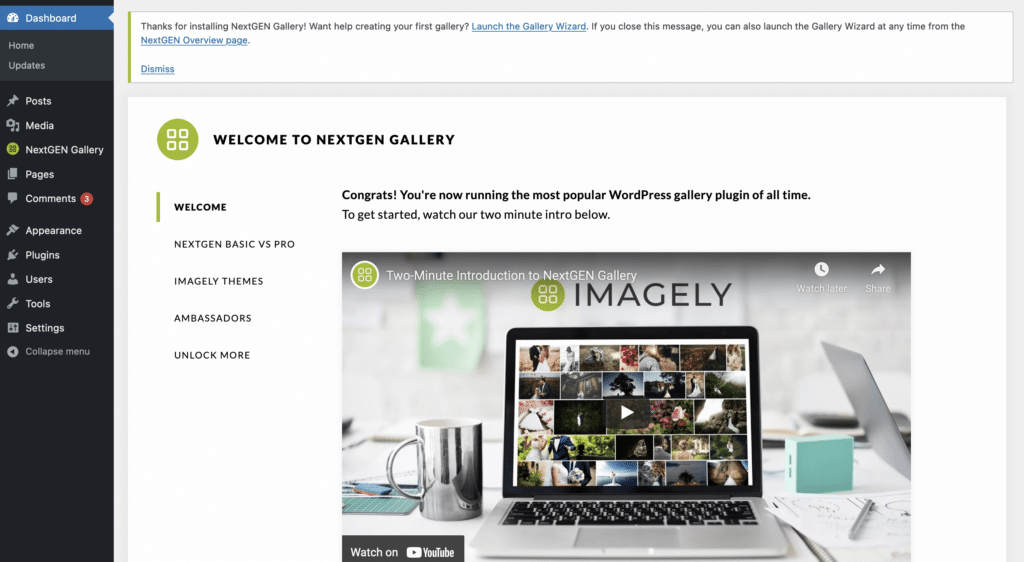
You’ll notice a message at the top of the screen to run the Gallery Wizard, although you don’t need this to take your first steps.
2. Add Your Images and Make Some Default Settings Tweaks
To start creating your own gallery, click the NextGEN Gallery > Add Gallery / Images link:

This brings you to the image uploader:
This works in a similar way to the WordPress Media Library. You can drag images onto the uploader and import them from the Media Library itself. Though, there’s more here. For example, you can also upload an entire folder, which is great if you export from Capture One or Lightroom: You can drag it straight into WordPress and get to work.
Once you have your images within WordPress, you’ll want to give your gallery a title using the text field, then click Create & Select to build your new gallery. As an alternative, if you want to upload from the Media Library, you’ll create your gallery first, then select your images from the familiar interface.
The final step is to click the Import Images button, and NextGEN Gallery will run through the import process. Once it’s done, you can head to the Manage Galleries screen to get an overview of your image organization:
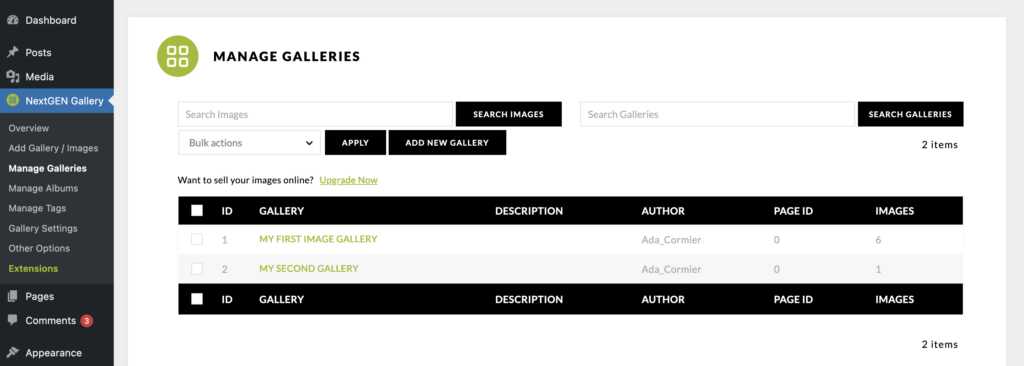
Managing your galleries is beyond the scope of this article, although we encourage you to look around here to see what you can achieve.
To display your gallery, go back to a post or page and add a NextGEN Gallery Block using the search functionality within the Add Block dialog:
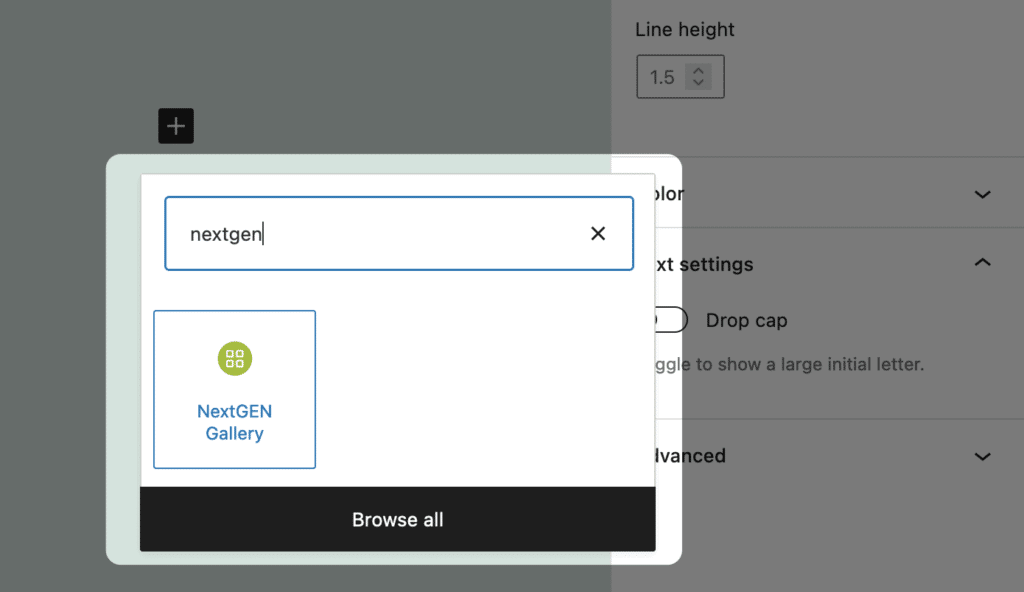
This will bring up the NextGEN customization options:
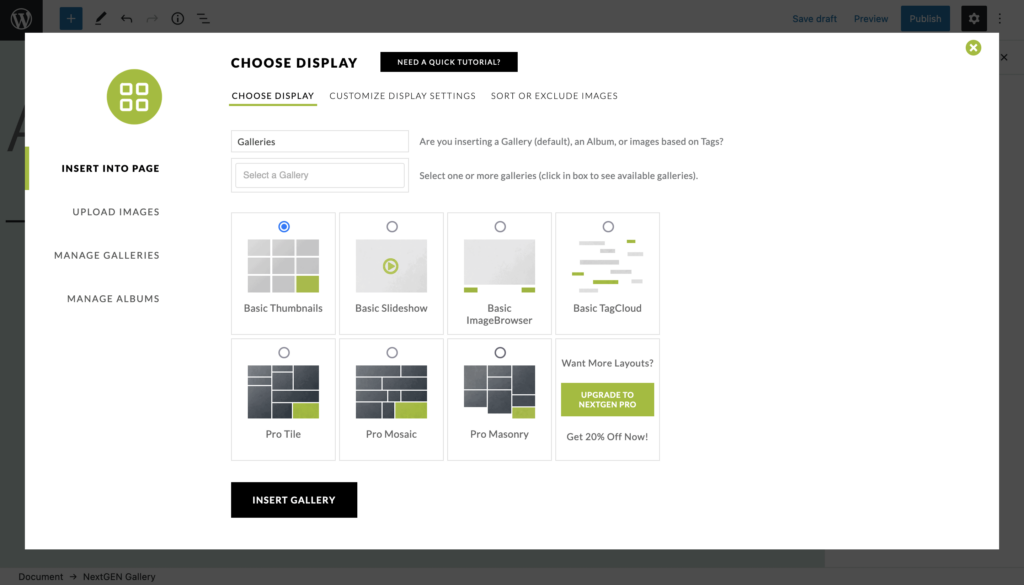
For now, we’re going to use the Basic Thumbnails option, and click Insert Gallery. While you won’t see a live preview within the Block Editor, you can see one using the dedicated WordPress Preview links:
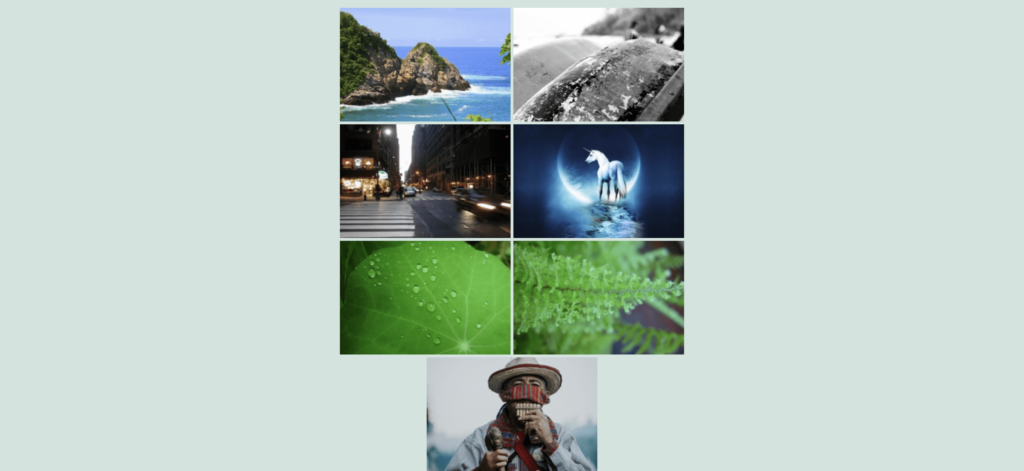
This is almost all there is to create a WordPress image gallery. Though, there’s much more scope at your disposal.
3. Customize Your Photo Gallery to Your Unique Requirements
While our image gallery is functional right now, it’s not the best representation of the images themselves. We can fix this using the NextGEN Gallery options.
To do this, head back to the Block Editor and click the Edit button on your gallery. This will bring you back to the Choose Display screen:

You can choose any available options here, then click the Insert Gallery button again. To customize the gallery further, head to the NextGEN Gallery > Gallery Settings screen within WordPress:
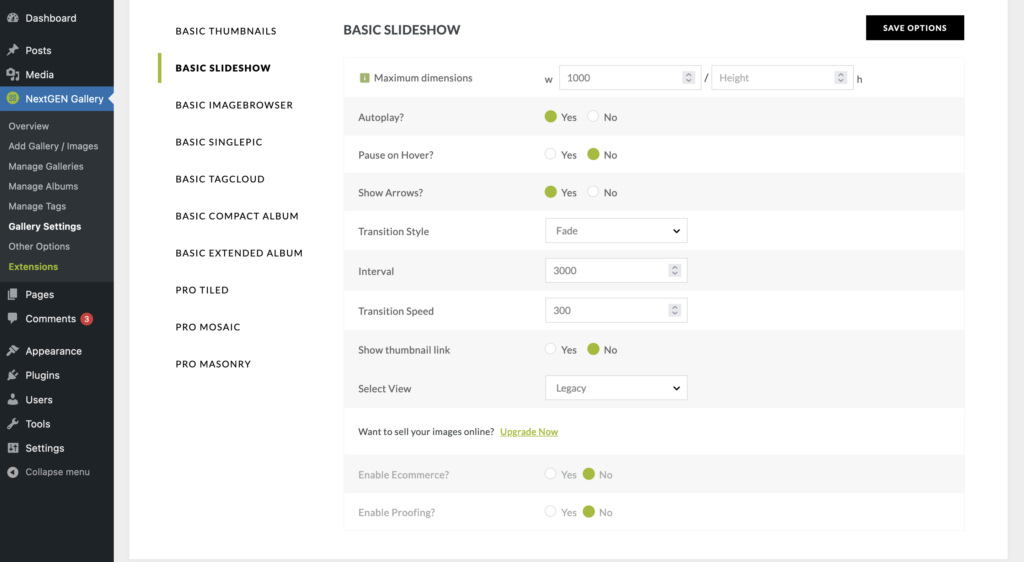
Here, you can alter lots of different options to make sure your chosen gallery meets your needs. With the Slideshow gallery style, you can choose to set specific dimensions, autoplay the slideshow, set a transition style, and much more:
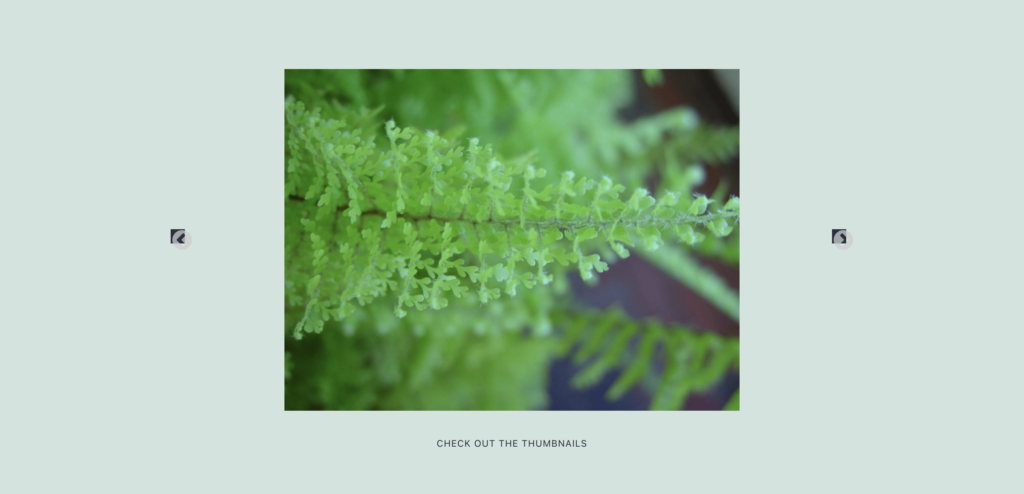
The great thing about using NextGEN Gallery with the Block Editor is that the gallery will take on some of the properties of your whole design. This makes it a great option to integrate your image galleries into your site, and take them to the next level with customizations.
Tips to Optimize Your Photo Gallery Once It’s Online
Once you have a photo gallery up and running on your site, you can start to think about other ways to make them more valuable and helpful.
For example, there are three major considerations you’ll want to make:
- Make sure the images are fit for the web. You may already do this from within Capture One or Lightroom, but setting the right dimensions (around 2048px on the long side), and resolution (72 pixels per inch) will make sure your image is at the best quality, and helps your site perform in an optimal way.
- Add metadata to your images. You can set this within the Media Library. The title of your image helps search engines understand what the visuals mean. The ‘alt text’ is crucial for accessibility, while your caption can help give context to some of your photos.
- Optimize them using Imagify. Images for the web don’t need to be huge in file size to be high quality. Using a solution such as Imagify means you can preserve as much quality as possible, while shedding weight from the file itself.
Even these three straightforward optimizations could make your photo galleries a cut above the rest.
Wrapping Up
Photos make up much of the content on the web. Because of this, you’ll want to leverage the benefits a well-placed image can do for you. To do this within WordPress, you could use the built-in gallery options. Though a solution such as NextGEN Gallery can give you more styles to choose from, and a greater number of options for customization.
What’s more, integrating a NextGEN gallery into WordPress is a piece of cake. First, select the Block, then edit the settings within the dedicated customization page. You can be up and running in about five minutes with a stellar-looking photo gallery – no code required!
If you feel your images need a greater presence on your site, NextGEN Gallery could help. There’s a solution to fit your exact needs, including a free version with full functionality.
Image credit: Ryan McGuire.


