
Looking for an efficient way to convert your images to WebP and…
Do you want to know why and how to optimize images for your eCommerce site? The ultimate goal of image optimization is to create the smallest file size without compromising image quality. You want to show high-quality images without impacting your site’s performance.
Studies have consistently shown that fast page speed will result in a better position on Google and a higher conversion rate. As a result, you want your images to be optimized and not too large for the visitors.
Images are essential for an online shop; most of your sales depend on product images. Clients always want to check the details of the products (such as colors or material) before making any purchases.
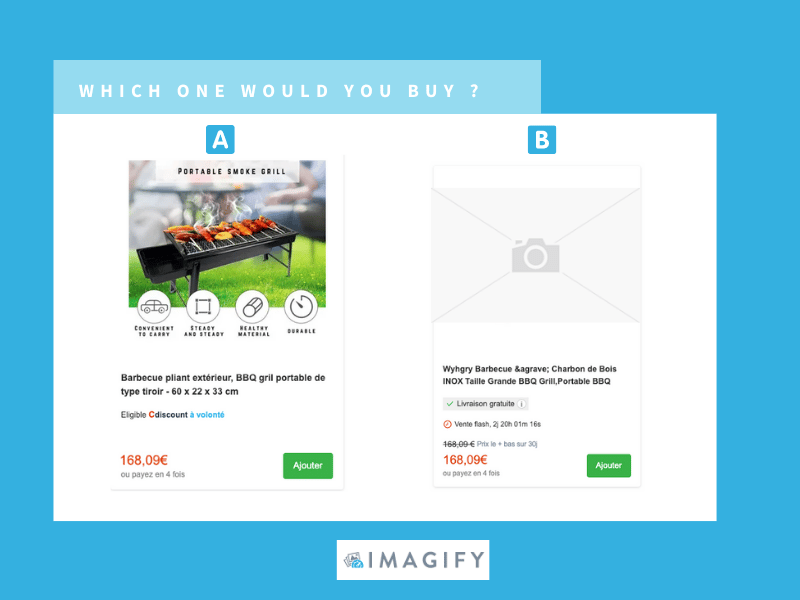
Did you know? According to Salsify, 73% of shoppers need to see at least three images to make a buying decision.
Now, if you look at our example below, which product would you buy for your next summer party? The answer is A, right?
Images are a must-have to increase conversions, but unoptimized images cause your eCommerce site to slow down (driving potential clients away from your store). To avoid those performance issues, we are sharing our best tips to optimize images, boost the speed of your online store and improve your ranking on Google.
12 SEO & Performance Tips to Optimize Your eCommerce Images
Here are 12 SEO and Performance tips you can apply to optimize your eCommerce images, speed up your eCommerce store and rank better on Google:
- Correctly Size Your Images
- Compress Images
- Choose the Right File Format
- Use Browser Caching
- Preload Images To Display Them Faster And Boost Your LCP
- Use The Fetchpriority Attribute
- Include Width and Height Size Attributes To Avoid Sudden Layout Moves (CLS)
- Use an Image CDN
- Enable Lazy Loading
- Use Responsive Images
- Optimize Image File Names and Include an SEO-Friendly Alt-text
- Create an Image Sitemap
Let’s dive into each of the image optimization techniques that will boost the SEO and performance of your eCommerce site.
1. Correctly Size Your Images
The best size for eCommerce images is to try to keep your image file size below 70-80 KB. The actual dimension depends on which CMS or e-retailer you are using.
- WooCommerce images : 600 x 600 (minimum)

- Amazon images : 1000 x 1000 px (minimum)
- Shopify images : 800 x 800 px (minimum to get the zoom functionality)
2. Compress Images
Compressing images means reducing image size without losing quality. There are two types of compression: lossy vs. lossless.
- Lossless – a small reduction in file size with no change in quality.
- Lossy – a more significant reduction in file size but might affect the quality. There are several levels in the “lossy” compression: some are not even visible to the human eye, and some are more aggressive and impact the quality.
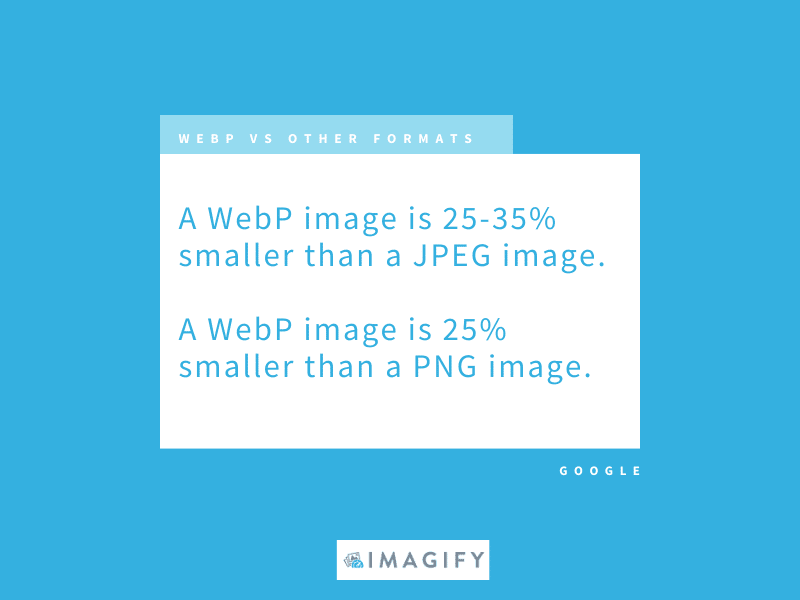
3. Choose the Right File Format
Google PageSpeed Insights recommends using a next-gen format like WebP to optimize your images. By serving your images to WebP on your eCommerce site, you’ll save up on the image file size as shown in the figure below:
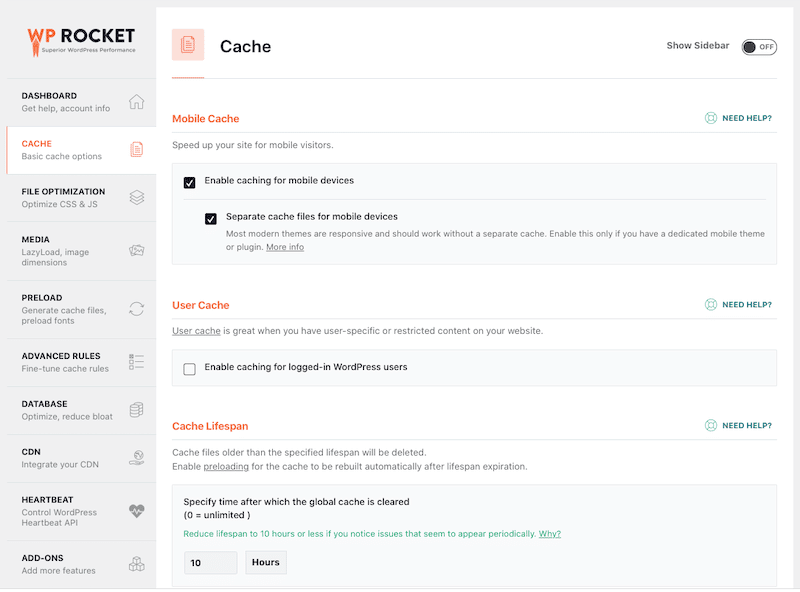
4. Use Browser Caching
One of the most effective optimization methods is image caching. With a WordPress plugin like WP Rocket, you can store the image files in a user’s browser cache or on a proxy server for faster and easier access in the future.
5. Preload Images to Display Them Faster and Boost Your LCP
Preloading the biggest above-the-fold image will enhance the Largest Contentful Paint (LCP), a Core Web Vital. How? Preloading the LCP image can display your hero image or website banner much earlier in the page load, resulting in a positive user experience.
As its name suggests, preloading allows you to prioritize the loading of an element of the page. Again, WP Rocket can help you preload images, fonts, and links:
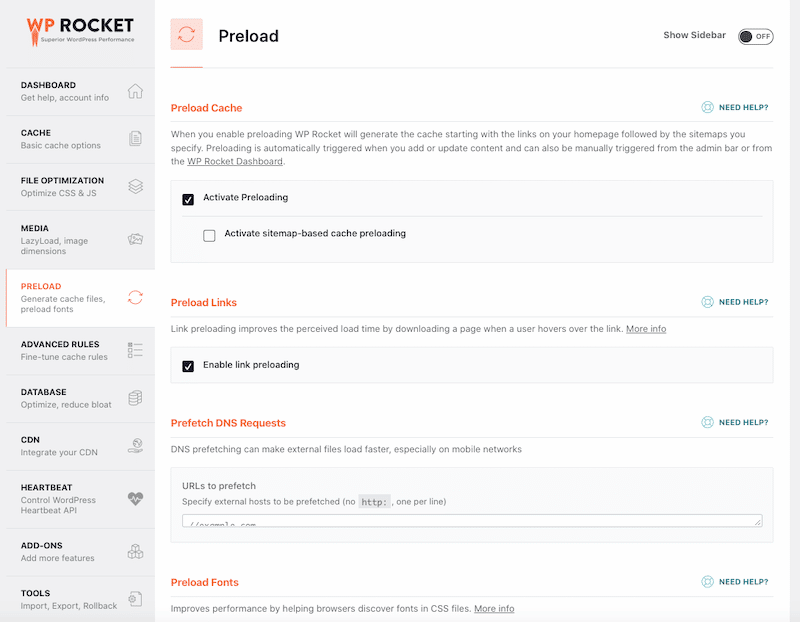
If you prefer, you can also apply this preload tag manually on your images:
<link rel="preload" as="image" href="https://mysite.com/images/myimagename.webp" />6. Use the Fetchpriority Attribute
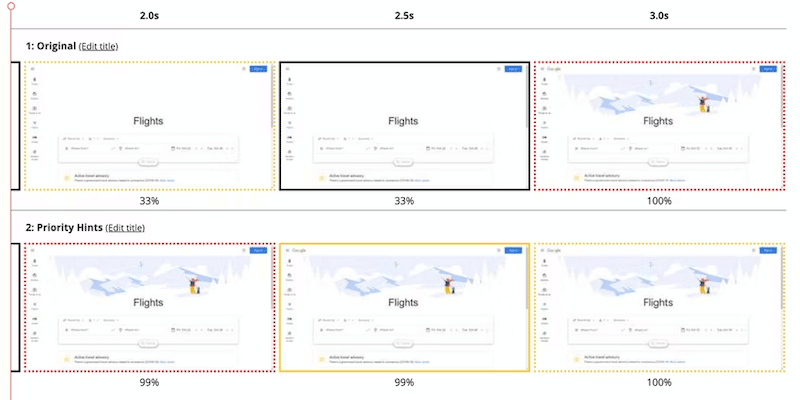
Another tip to optimize images and get a better LCP is to tell the browser which image it should fetch first by using the fetchpriority attribute.
Your LCP image should have fetchpriority=”high” to prioritize downloading it, while the footer images would have fetchpriority=”low” as they are not immediately needed. Google researched their own fights search engine and found that 99% of the above-the-fold content was displayed in less than 2 seconds thanks to priority hints:
7. Include Width and Height Size Attributes to Avoid Sudden Layout Moves (CLS)
If PageSpeed Insights detects that some content suddenly moves, this will impact the user experience and the overall speed of a website. Cumulative Layout Shift (CLS) is another Core Web Vitals that measures if any sudden layout shifts happen during the loading time. If you reserve the image space by adding the height and width attributes to your images, Google Page Insights will give you a good CLS grade.
| Image width and height are not specified: Sudden layout shift after image loads = Bad CLS | Width and Height are specified: No layout shift = Good CLS |
 |  |
| Important – As LCP and CLS are two of the Core Web Vitals, there are also SEO benefits associated with improving both metrics. |
8. Use an Image CDN
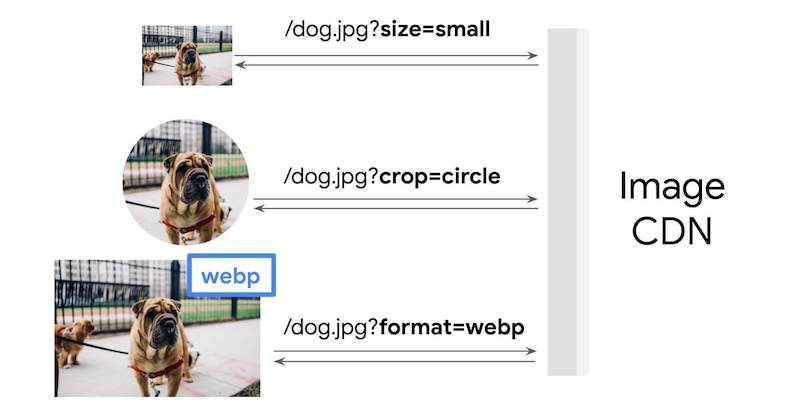
Image CDNs (content delivery networks) are among the best tools available on the market for image optimization. According to web.dev, it can even result in 40–80% savings on an image file size. All the images loaded from a CDN will be served via the image URL that indicates not only which image to load but also parameters like size, format, and quality. This is handy to create variations of an image for different scenarios:
Setting up a CDN from scratch can feel overwhelming. If you prefer an automatic installation, you can try RocketCDN.
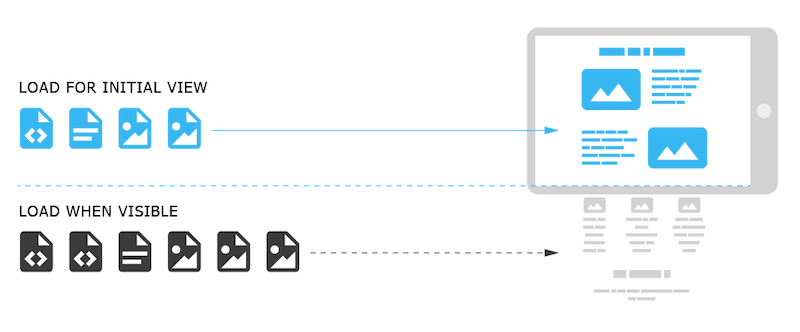
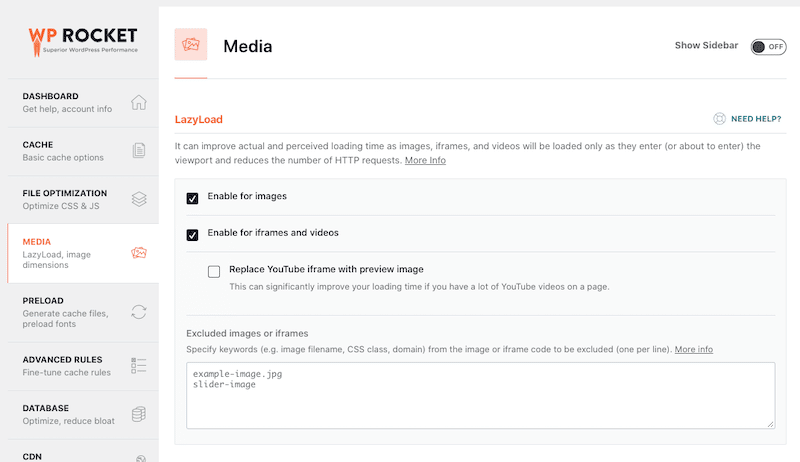
9. Enable Lazy Loading
Lazy loading is another strategy to optimize images of an online store. It aims at identifying resources as non-blocking and loading these only when needed. In short, it loads images only when your visitor has scrolled to that content.
If you don’t feel comfortable applying the lazy load script manually, you can use a plugin like WP Rocket to help you.
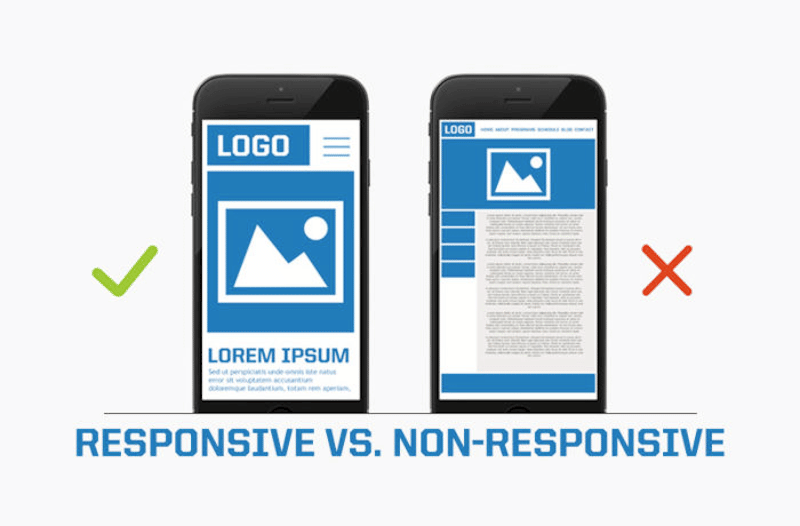
10. Use Responsive Images
Optimizing your images for mobile is another way to boost the user experience and the loading speed of your store. Responsive images are a set of techniques used to load the right image according to the device used by the user: desktop, tablet, or mobile. It’s calculated based on device resolution, orientation, screen size, page layout, and the network connection.
The srcset and sizes attributes can help you to make your images responsive and achieve better performance and a great user experience. It works like this:
- srcset = describes the actual width of the source files
- sizes = tells the browser how wide the image is supposed to be displayed on the screen.
Dev.to wrote an excellent detailed article about how to use both for your responsive images. We recommend you read the full guide.
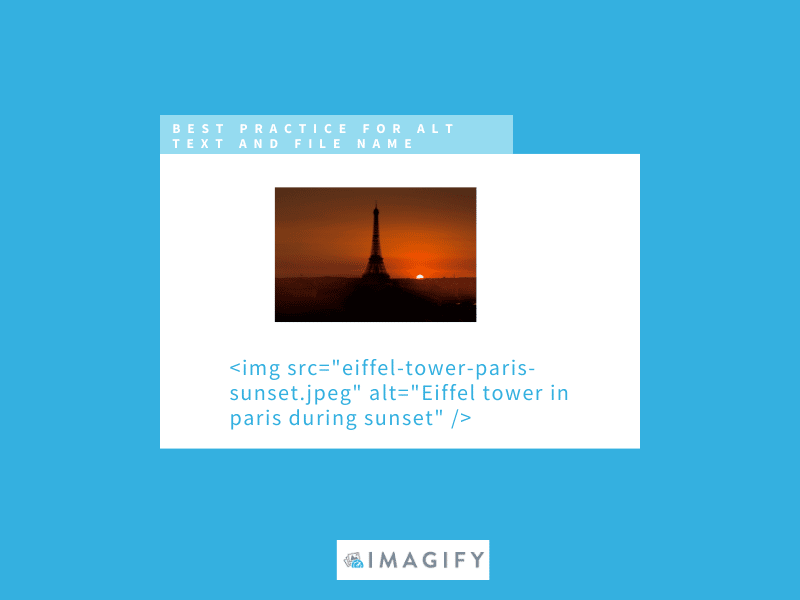
11. Optimize Image File Names and Include an SEO-Friendly Alt-text
Image optimization does not stop at the quality of the file itself. It also expands to the name given to the file and the alt text. Always choose a relevant and specific name for your image with a clear alt-text. It will help your images rank on Google by describing what the image is about.
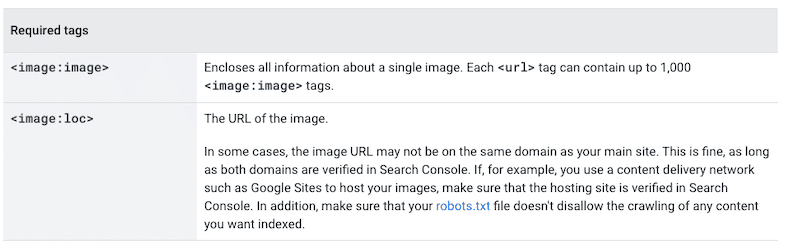
12. Create an Image Sitemap
Adding images to a sitemap is helping Google to discover images that might not be found otherwise (such as images loaded with JavaScript). It gives a little SEO boost to your online store. Here are the required sitemap tags needed from Google to find your images:
Now that you know our best optimization tips to speed up your online store, there are some tools that can help you implement them. For example, you can use the Imagify plugin to address most of the optimization points in a few clicks. Let’s go over each of them.
Optimizing eCommerce Images with Imagify
The Imagify plugin can help you to tackle most of the optimization tips we made in the previous section to speed up your online shop. Once you install the free plugin on WordPress, you will unlock several features helping you to speed up your site and increase visibility on Google. Let’s dig into the best features of Imagify!
Thanks to Imagify, you can optimize images in the following ways:
- Compress and optimize your images using Smart Compression, which will automatically optimize your images and find the best balance between quality and performance.
- Compress and resize multiple images at the same time:
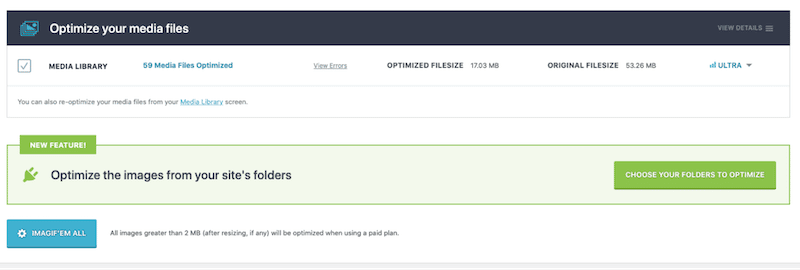
- Optimization from the WordPress library – you can also perform the optimization on selected images.
- Convert your images to WebP in one click:
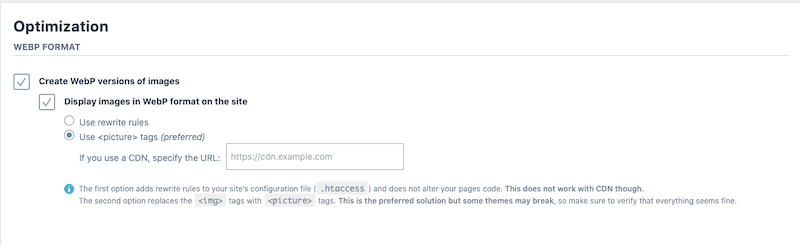
| 🔊 Important to note: as of March 2024, Imagify also converts images to Avif, the other next-gen format recommended by Google to make your images lighter. |
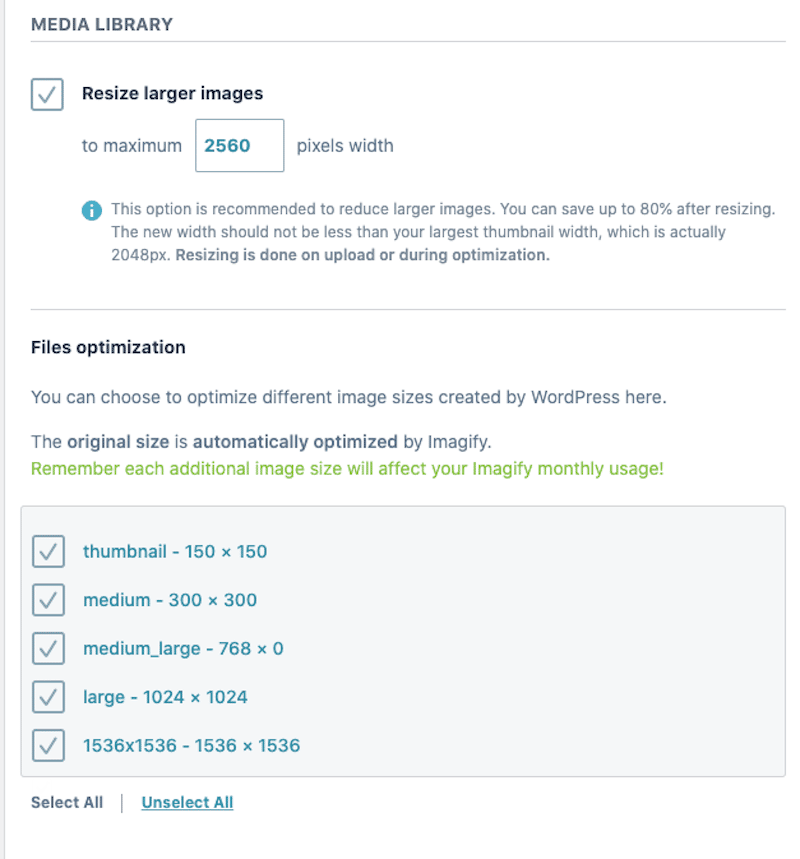
- Automatically resize your largest images:
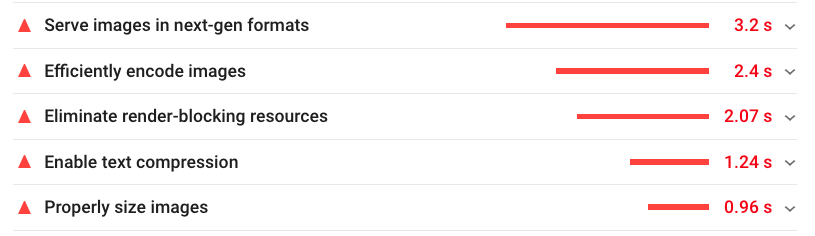
And last but not least, Imagify optimizes your images to address Google recommendations on PageSpeed Insights, such as “serve images in next-gen formats” (thanks to its WebP conversion feature), “efficiently encode images”, and “properly size images”.
| PSI issues without Imagify | Passed audit with Imagify |
 |  |
Finally, Imagify’s pricing is simple: you get 200 MB of free data every month, and if you need unlimited resources, it’s only USD 9.99/month (billed yearly)!
Wrapping Up
Images greatly affect the perception and sales of your product. Optimizing them with a plugin like Imagify will boost your online store performance and increase your search engine optimization (SEO) rankings. The results are significant load savings, an improved user experience, and a better position on Google. Try Imagify for free and tell us how your online store’s image compression is going!