Looking for an efficient way to convert your images to WebP and…
Optimizing your WordPress logo is part of the whole image optimization process and should not be overlooked. Logos serve as a means of identification for your business, acting as symbols that customers rely on to associate with your brand. Once you have created your ideal logo, a few optimization steps should be completed to avoid performance issues on the web. This article details the importance of optimizing your logo and provides insights on how to do it without compromising quality.
Why You Should Optimize Your WordPress Logo
Visitors expect websites to load quickly, and optimizing your WordPress logo is essential for performance, SEO, and user experience. Additionally, the website’s logo is among the initial elements that catch the visitor’s attention, playing a crucial role in enhancing your professional branding. Here are 4 reasons why you should optimize your logo on WordPress:
1. Boost Performance and Improve Page Loading Speed
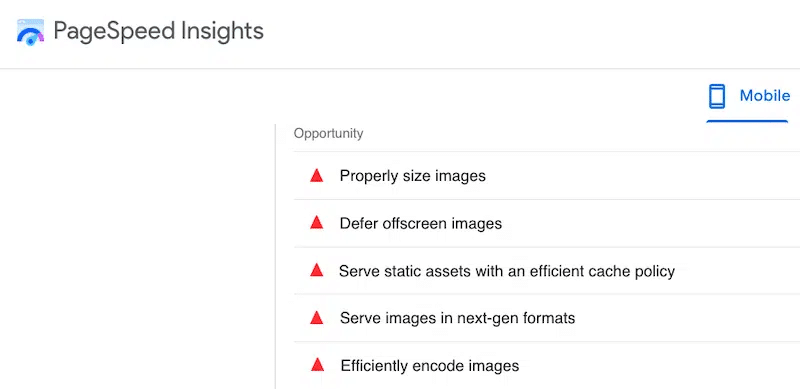
Large and uncompressed images – including logos – can slow your website’s loading time. Faster loading times are crucial for retaining visitors and improving overall user experience. PageSpeed Insights offers specific suggestions related to image optimization for enhancing performance:
2. Rank Better on Search Engines
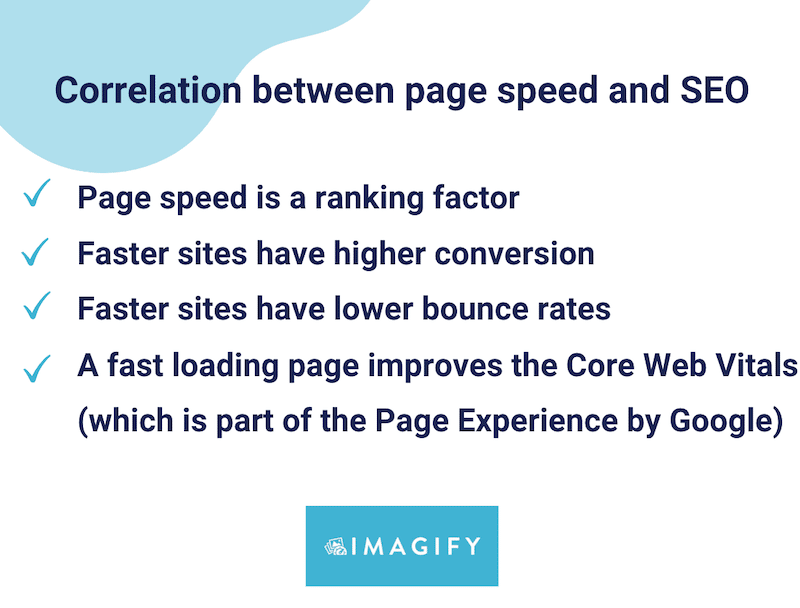
Google considers page speed a ranking factor, and a slow website can lead to lower search engine rankings. By optimizing your logo and reducing its file size, you contribute to faster page loading, which can positively impact your SEO efforts and improve your website’s visibility in search engine results.
3. Offer a Better User Experience Across Devices
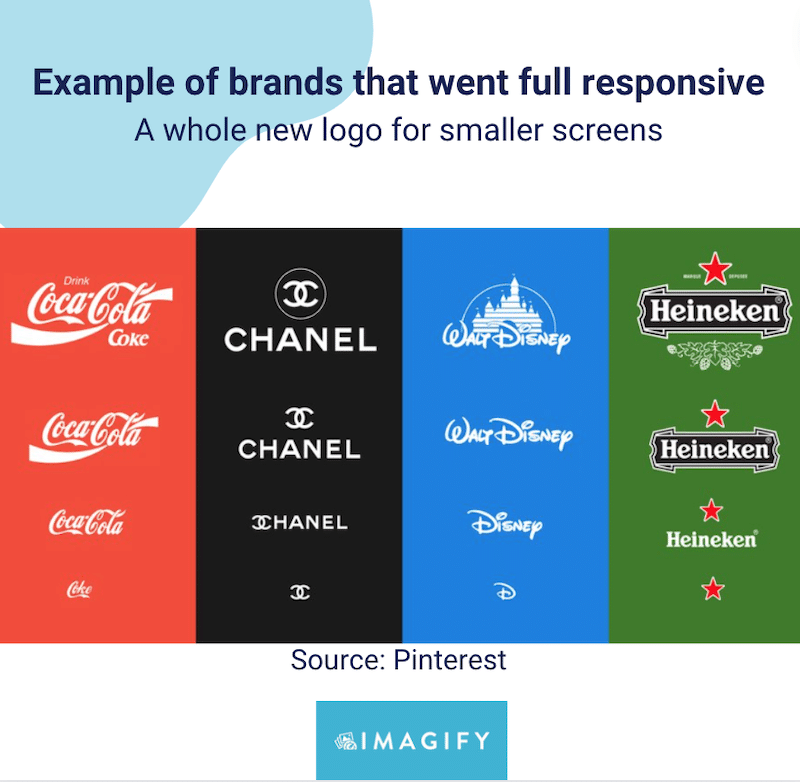
With responsive design: A well-optimized logo is displayed correctly across different devices and screen sizes. You want your mobile and tablet visitors to visit your website and get a pleasant experience, right?
4. Provide Consistent Branding and Positioning
A well-optimized logo ensures your brand is consistently presented across all marketing supports. Consistent branding helps in building brand awareness and trust among your visitors. On top of that, a visually appealing and well-optimized logo reflects positively on your brand. It contributes to a professional appearance and leaves a good impression on visitors.
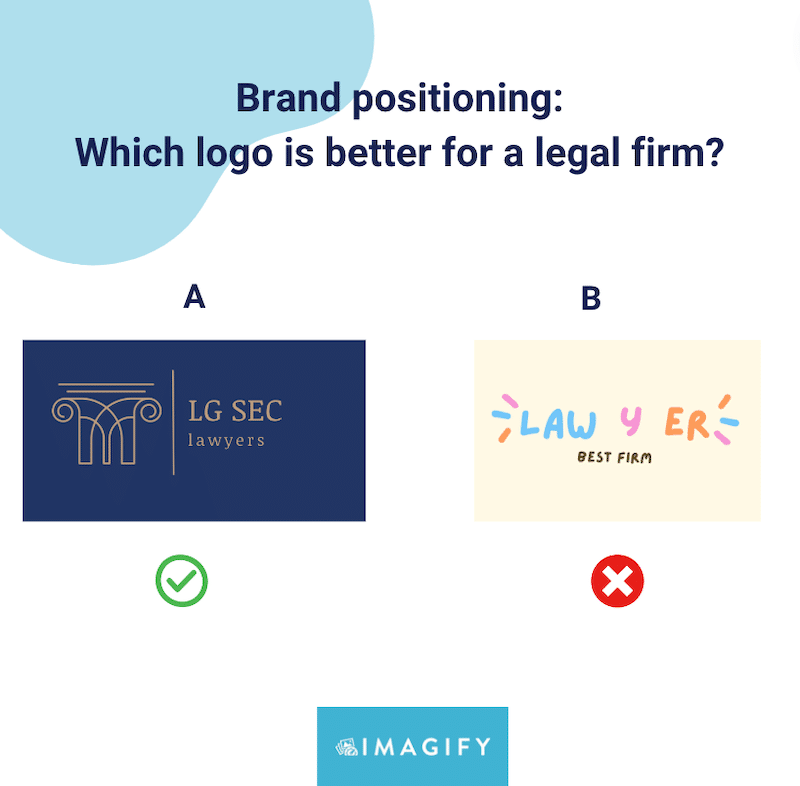
Below is an example of consistent brand positioning. The logo designs are starkly different, but when considering the entire picture, which logo would better fit a legal firm?
Having understood the significance of optimizing your WordPress logo, let’s delve into the best practices for the optimization process.
How to Optimize Your WordPress Logo (SEO + Performance)
Here are 6 easy tips you can follow to optimize your logo on WordPress:
- Pick The Right Logo Size
- Choose The Right Image Format
- Compress The Logo
- Use A Proper Filename
- Add The Alt Text
- Include A Link To Your Website Homepage
Now, let’s delve into the six best practices for optimizing logo images in WordPress. Those steps will help you optimize your logo with the right tools.
1. Pick The Right Logo Size
The recommended pixel size for a WordPress logo is between 150 and 200 pixels wide, especially for a rectangle logo. If you have a square logo, 200 x 200 px is also acceptable. Note that the official default size of the WordPress logo is 200px width and 200px height.
The size of your logo is crucial. An excessively small logo might not create a lasting impact, whereas an oversized logo could detract from the overall website design and user experience.
Below is an example of Imagify’s logo that measures 186 x 22 px. The size is good and proportional to the rest of the header:

2. Choose The Right Image Format
While SVG and PNG have been widely used for logo images, Google recommends using next-gen formats like WebP or AVIF to ensure performance.

Next-gen image formats are file formats that are optimized specially for the web. WebP offers superior compression levels than the traditional JPEG or PNG format while retaining image quality. WebP also supports transparency, typically providing 3× smaller file sizes than PNG.
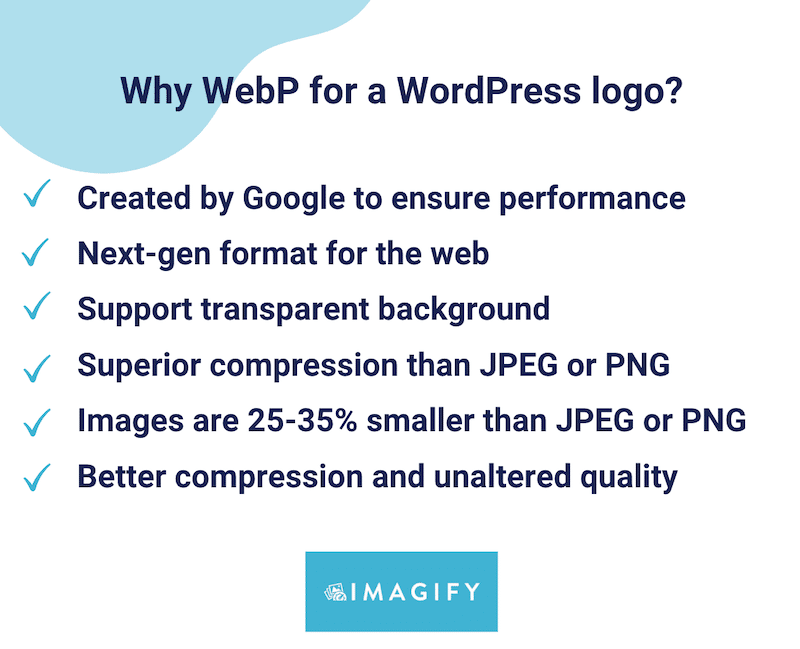
| 📖 From Google Research: – WebP lossless images are 26% smaller in size compared to PNGs. – WebP lossy images are 25-34% smaller than comparable JPEG images. |
3. Compress The Logo
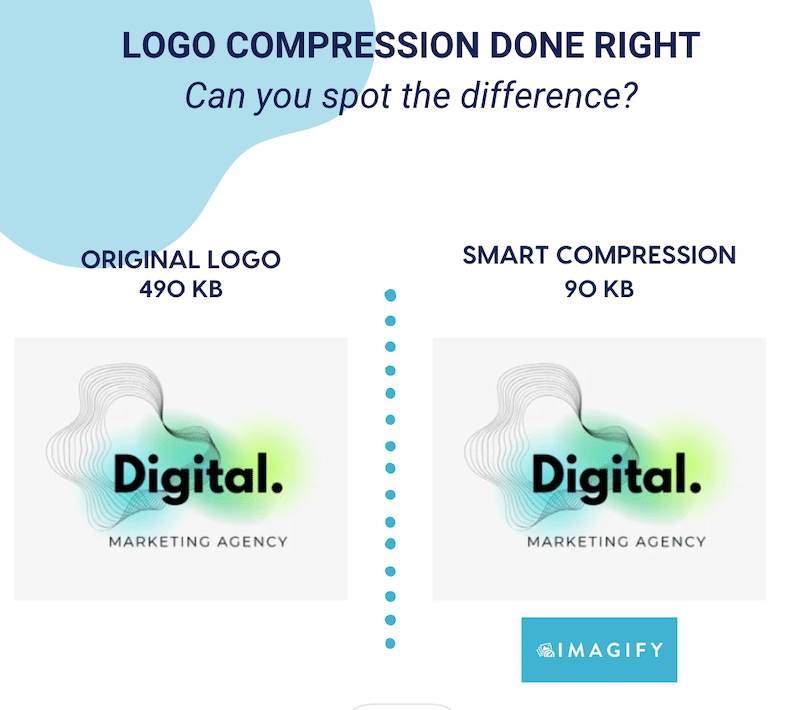
Compression means that you need to reduce your logo file size without losing quality. Image compression is vital for optimizing website performance and improving user experience. When you compress your logo, you should not see any difference in quality, just like our example below.
With compression, the file went from 490 KB to 90 KB without impacting the visual aspect of the logo:
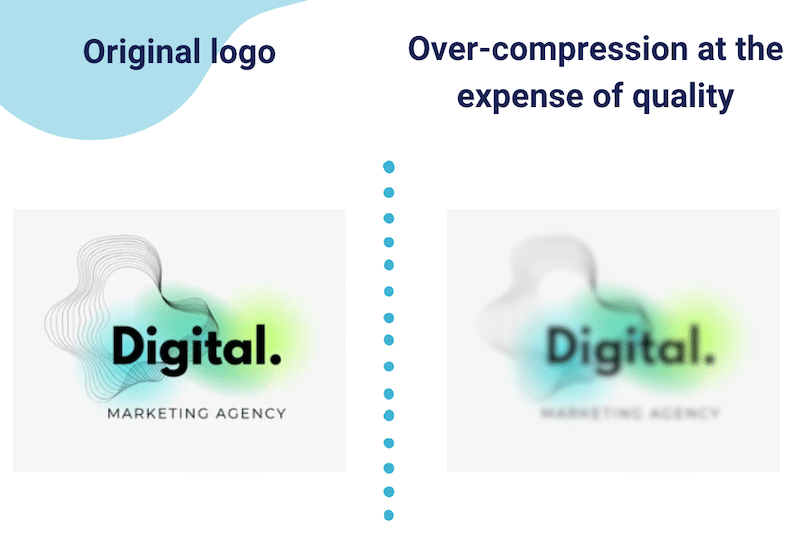
On the contrary, here’s another example of an image compression that went wrong. The logo has been overly compressed and will affect the user experience:
| 📖 There are two types of compression: lossy and lossless. We recommend using lossy compression for your logo. |
4. Use a Proper Filename
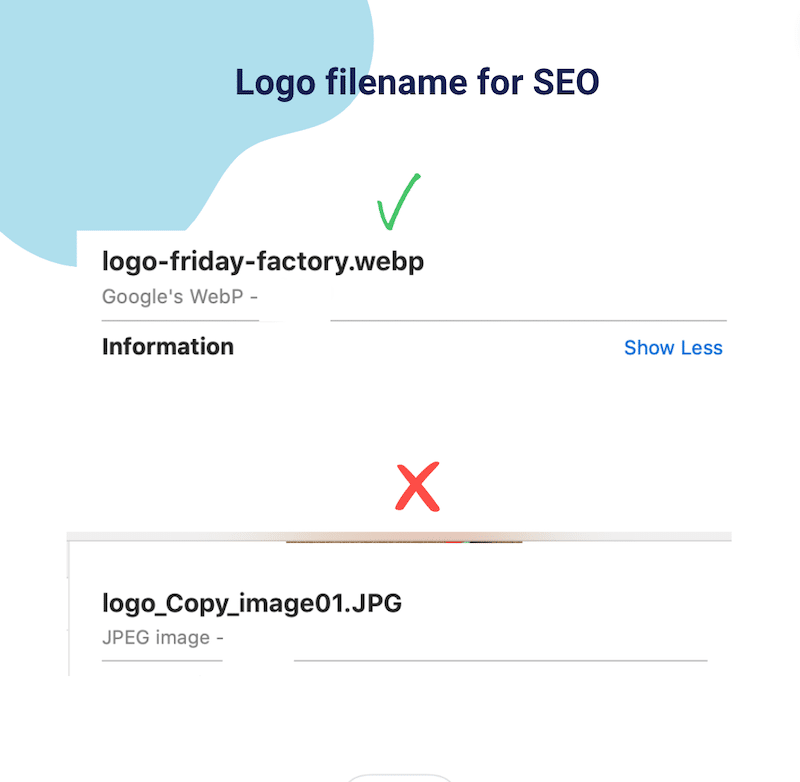
Optimizing your image filenames is a good practice for SEO, and here are some best practices to help you do that:
- Be descriptive with targeted keywords relevant to the image while keeping it short and simple.
- Use lowercase letters.
- Use hyphens to separate words instead of underscores or spaces (search engines read hyphens as space, so it helps them understand each word).
- Avoid generic names from your desktop or mobile, such as “image1.jpg”. Instead, go for “your-company-logo”.
- Be consistent across all your images and name them following a logical structure.
5. Add the ALT Text
Alternative text (alt text) is crucial for optimizing on-page SEO. It’s more important than the filename itself as it needs to describe the image and the context. Here are some tips for creating effective alt text:
- Add a meaningful description: Describe the content and purpose of the image accurately, in our case, say that the image is a logo. Include targeted keywords only if they fit naturally with your image.
- Keep it short: aim for concise alt text conveying essential information.
- Don’t Use “Image of” or “Picture of”: Alt text is already understood to describe an image, so go straight to the description.
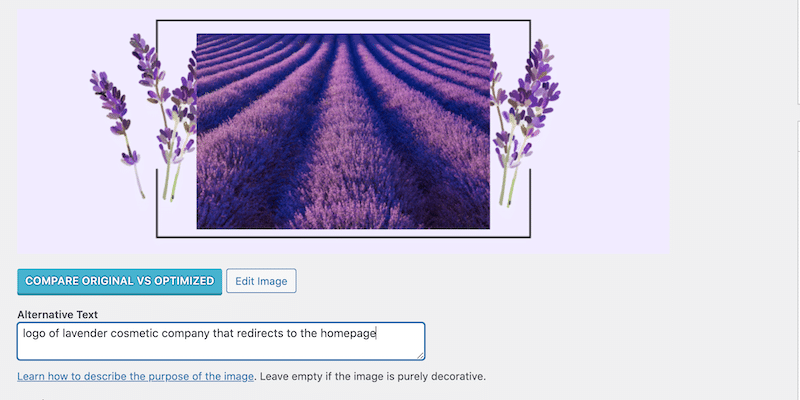
- Add the logo function for accessibility: if the logo image functions as a link back to the homepage, then you can label that image with its function.
To add Alt Text in WordPress, go to the WordPress library, open the file, and add your content in the Alternative Text box:
6. Include A Link To Your Website Homepage
The last step to optimize your logo effectively is to link it to your website’s homepage. Most WordPress themes will do this by default, but if your theme does not offer it, you can use the SMNCTCS custom logo link plugin that lets you add a custom link.
How to Optimize a Logo with a WordPress Plugin
The easiest way to optimize your WordPress logo is to use Imagify, one of the best image compression plugins. Imagify has a lean interface with straightforward options for you to choose from. In a few clicks, the plugin will automatically implement the following improvements for you:
- Compress your logo using the Smart Compression mode, meaning your file size will be reduced, but the quality will stay the same. You can optimize each file manually or use the bulk compression option.
- Convert your logo to WebP to ensure performance, as per Google recommendation.
| 🔊 Important to note: as of March 2024, Imagify also converts images to Avif, the other next-gen format recommended by Google to make your images lighter. |
Here’s a short tutorial to easily optimize your logo with Imagify. For reference, that’s how the original logo looks: it’s a PNG file weighing 284 KB.

- Install the free Imagify plugin and get your API key.
- Go to Settings > Imagify > Optimization WebP Format section
- Select Create WebP version of images and Display images in WebP format on the site. During the compression process, Imagify will convert your logo to the next-gen format, allowing it to become even smaller while retaining quality.

4. Go to the WordPress library and click the Optimize button next to the logo.

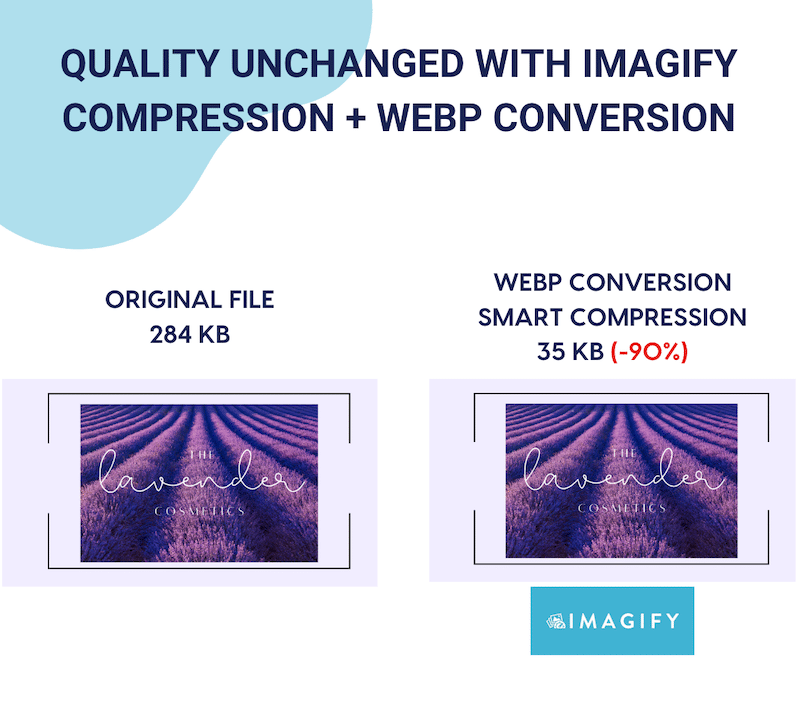
5. That’s it! Imagify optimized the logo, and here are the key takeaways:
- Logo file size went from 284 KB down to 35 KB.
- Imagify saved almost 90% of the total file size using the Smart mode compression.
- The logo was converted to WebP.

6. Let’s do a quality check. Imagify saved us almost 90% on the file size, but the quality of my logo has not changed:
Now, have you ever conducted a performance audit for your website using PageSpeed Insights or GTmetrix? Running tests with these tools provides a comprehensive report detailing the necessary enhancements for your site.
For example, PageSpeed Insights can flag some issues related to image optimization, such as “Efficiently encode images” or “Serve images in next-gen format (WebP)”, as shown in the report below:
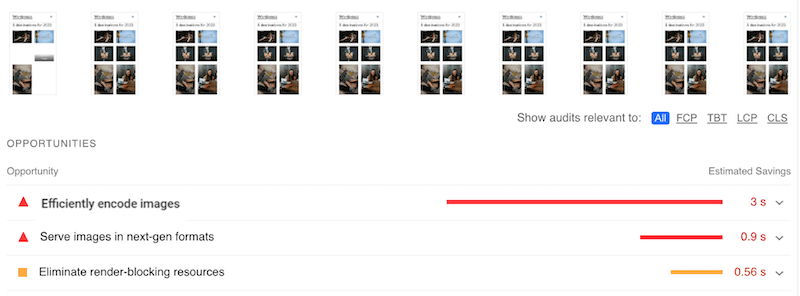
Thanks to powerful compression and WebP conversion, Imagify fixes both of the issues:

You can compress 20 MB for free every month with Imagify. After that, you can choose between two affordable premium plans: $9.99 per month for unlimited data or $5.99 per month for 500 MB.
Wrapping Up
In conclusion, optimizing your logo is a fundamental step in enhancing your WordPress site’s performance, user experience, and overall branding. By following our best practices, you can ensure that your logo looks visually appealing and contributes to a fast online presence.
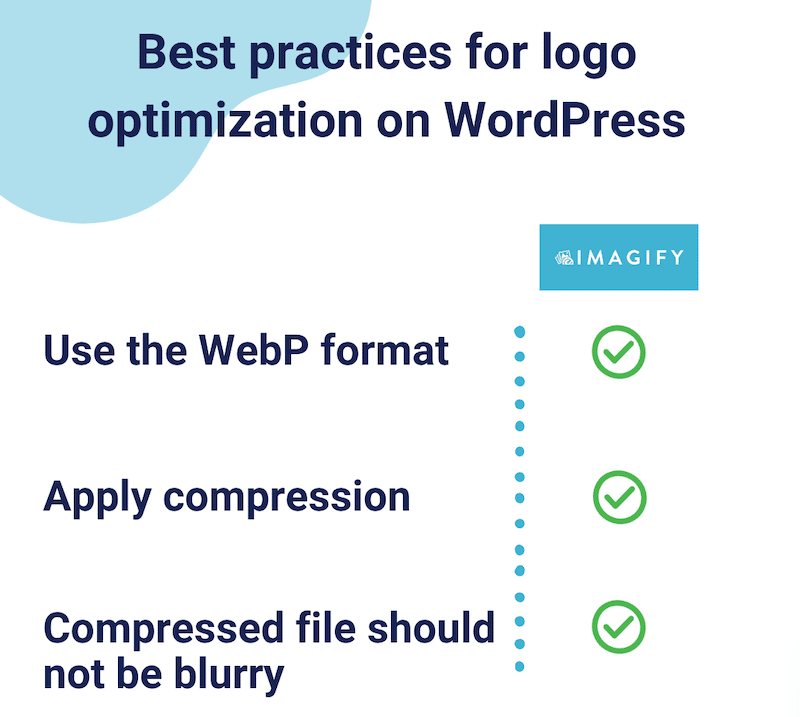
If you are looking for a plugin that automatically applies compression and converts your logo to WebP (or Avif) without compromising on quality, then Imagify is one of your best allies:
Ready to take your logo optimization to the next level? Try Imagify for free today, and get started on your logo optimization journey!
Start your image compression journey with Imagify! Before installing the plugin on your WordPress site, you can use the web app for free.


